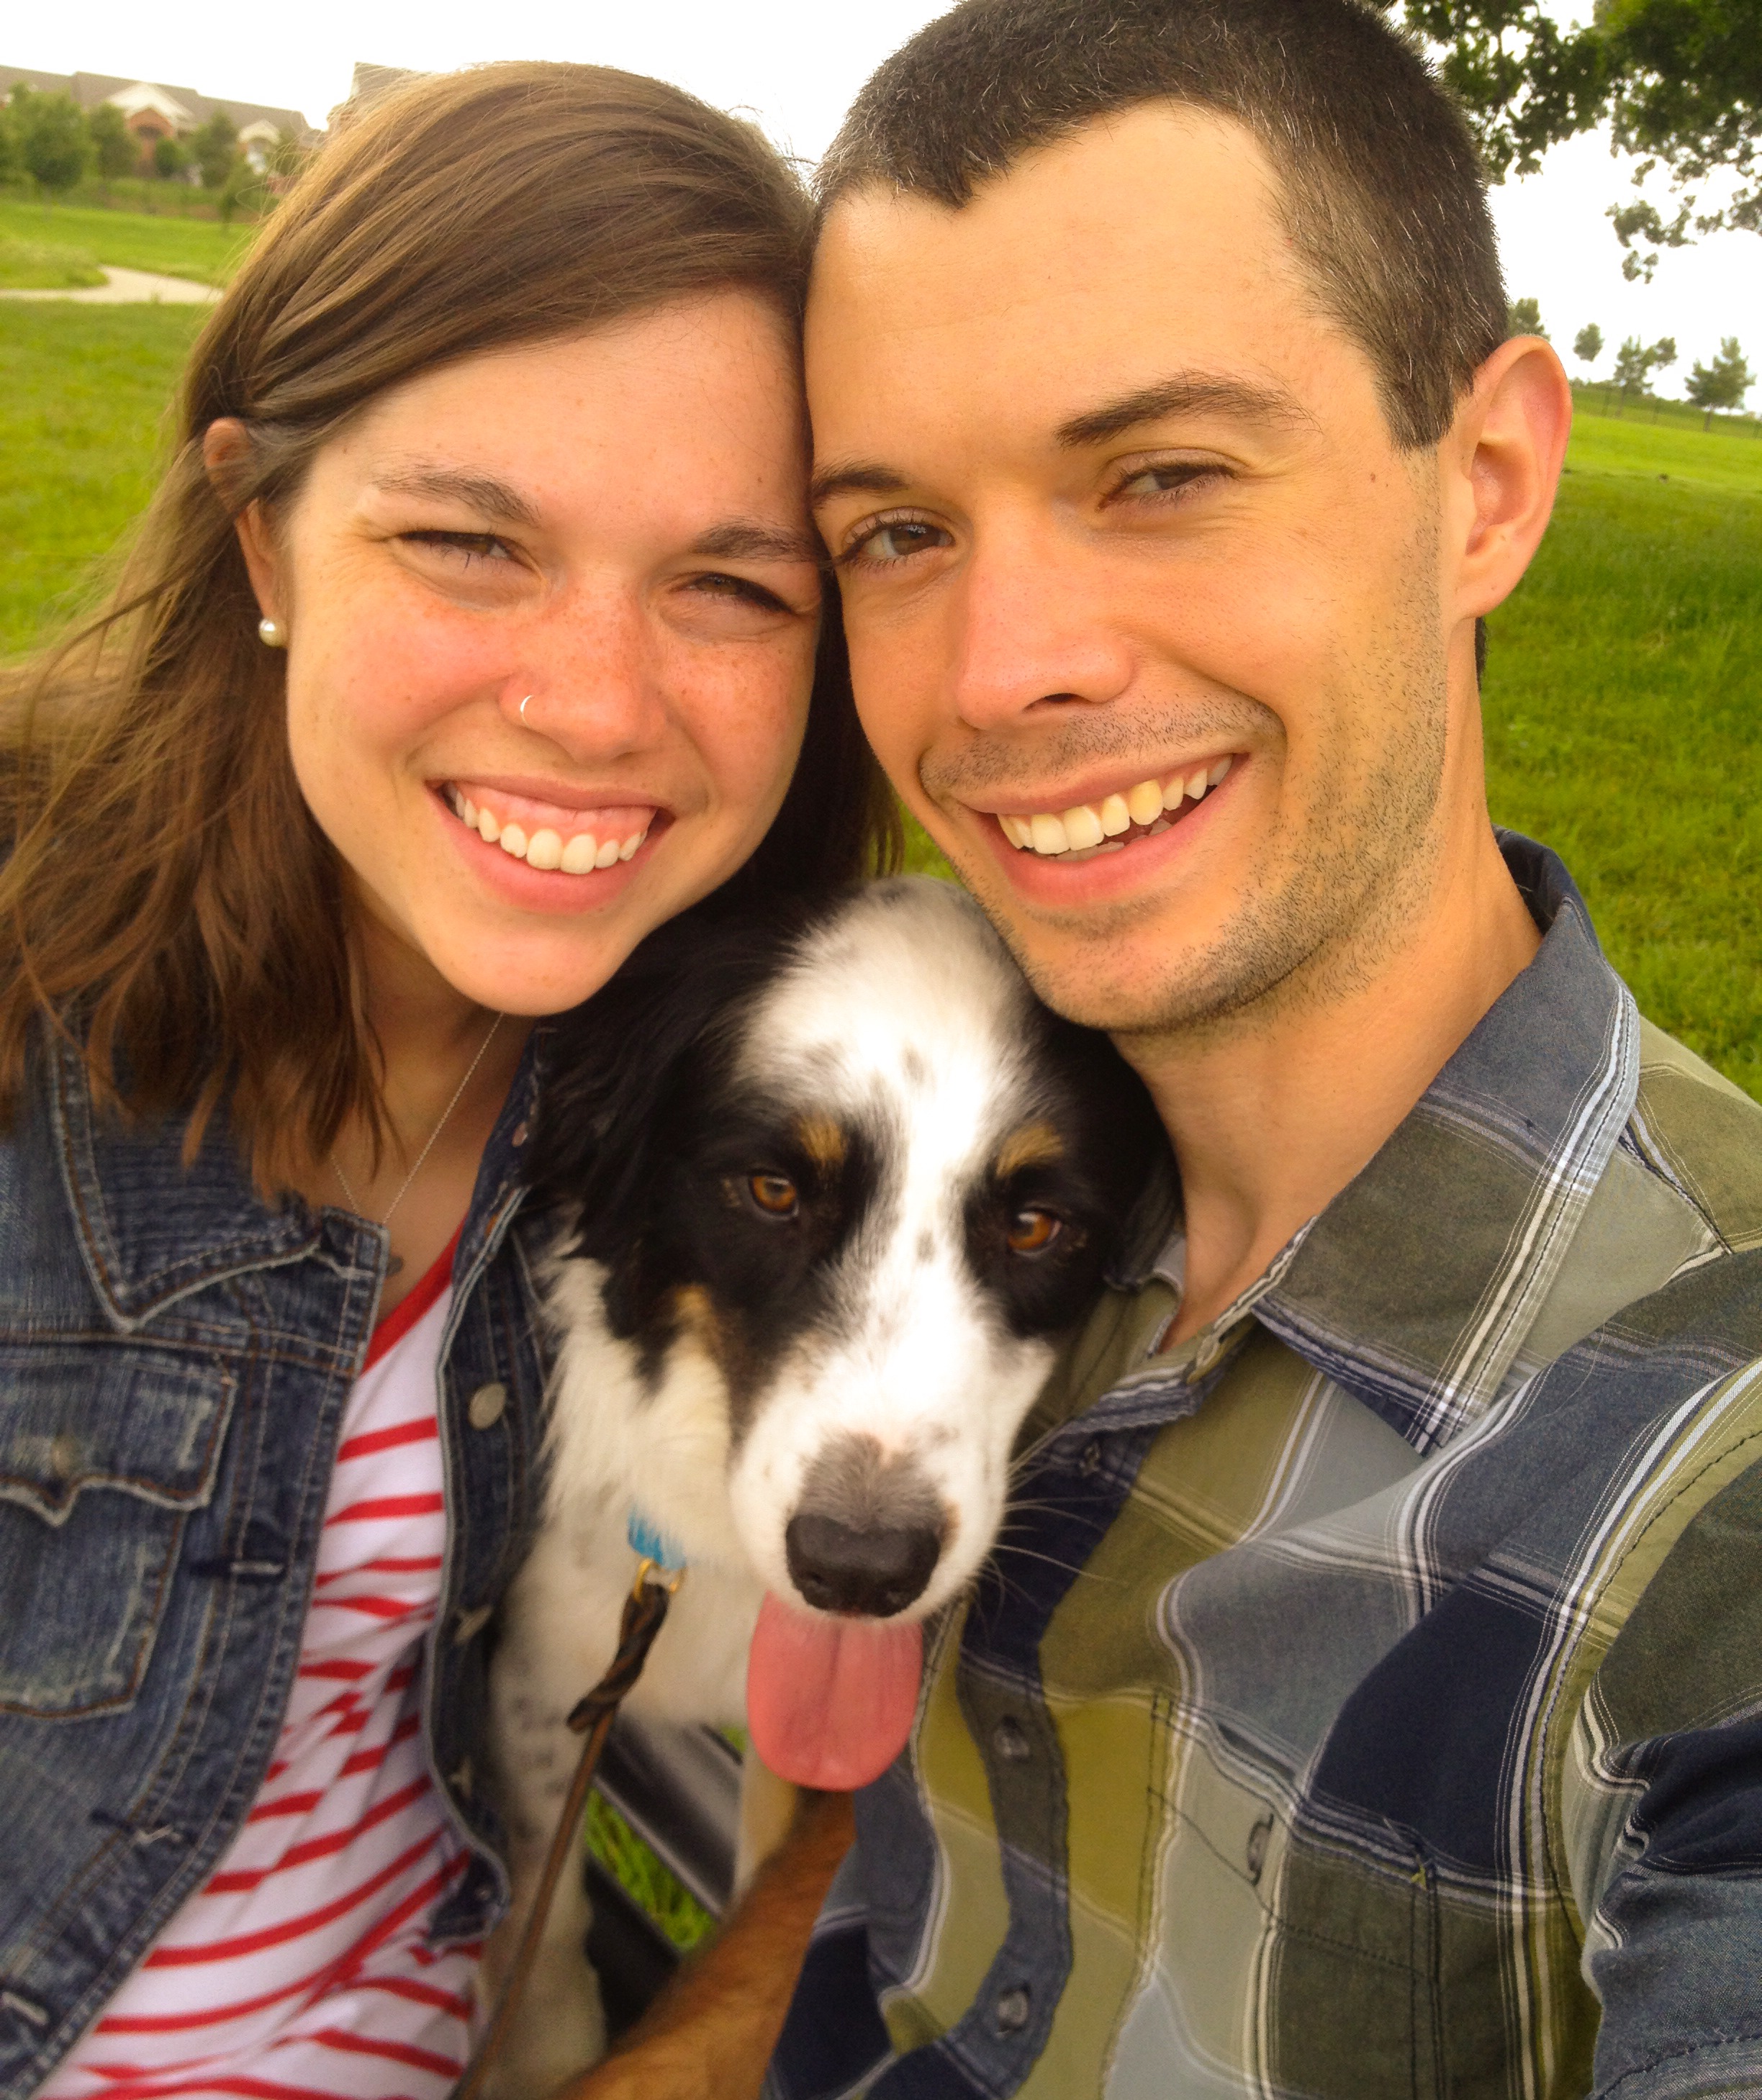
a letter for a discontented heart

Dear Friend,

I know your discontented and weary heart far too well. You are hoping to find peace in the present, yet also longing to find something new. This tension between the now and the not yet seems to be a constant tug — whether related to romance or friendships or family or merely the concept of “moving forward.” Stagnation is a dreaded state, yet the difference between stagnation and simply staying is hard to decipher.

The definition of stagnant – “showing no activity; dull and sluggish.” Of stagnation -“the state of being still, or not moving, like a sitting puddle of water where stagnation attracts mosquitoes.” Ick. While stay‘s definition “to remain in the same place” may seem similar, there comes with the idea of staying an idea of some purpose behind the staying.

Yet the staying leads to restlessness. Those of us who enjoy variety don’t want to always be looking at the same scenery. There’s a reluctancy I see to remaining in a waiting room. The waiting room exists because you came for something else. You aren’t there to look at outdated copies of People magazine or to watch mothers soothe fidgety children. Yet once your name is called, your shoes are off, and your weight is checked, you always find yourself in waiting in a new room. The cycle doesn’t end; there’s always something else. Even once you leave the office and wait for results. If you aren’t careful, you will always feel like you are waiting, and that’s no way to walk through this one wild and precious life.

You may not yet know the purpose yet behind this season, but that’s where you are. Jim Elliot wrote, “Wherever you are, be all there! Live to the hilt every situation you believe to be the will of God.” Your focus, restless friend, is to be all there. To figure out what it means to “live to the hilt” in your current circumstances, not daydream how to do so when your circumstances change.

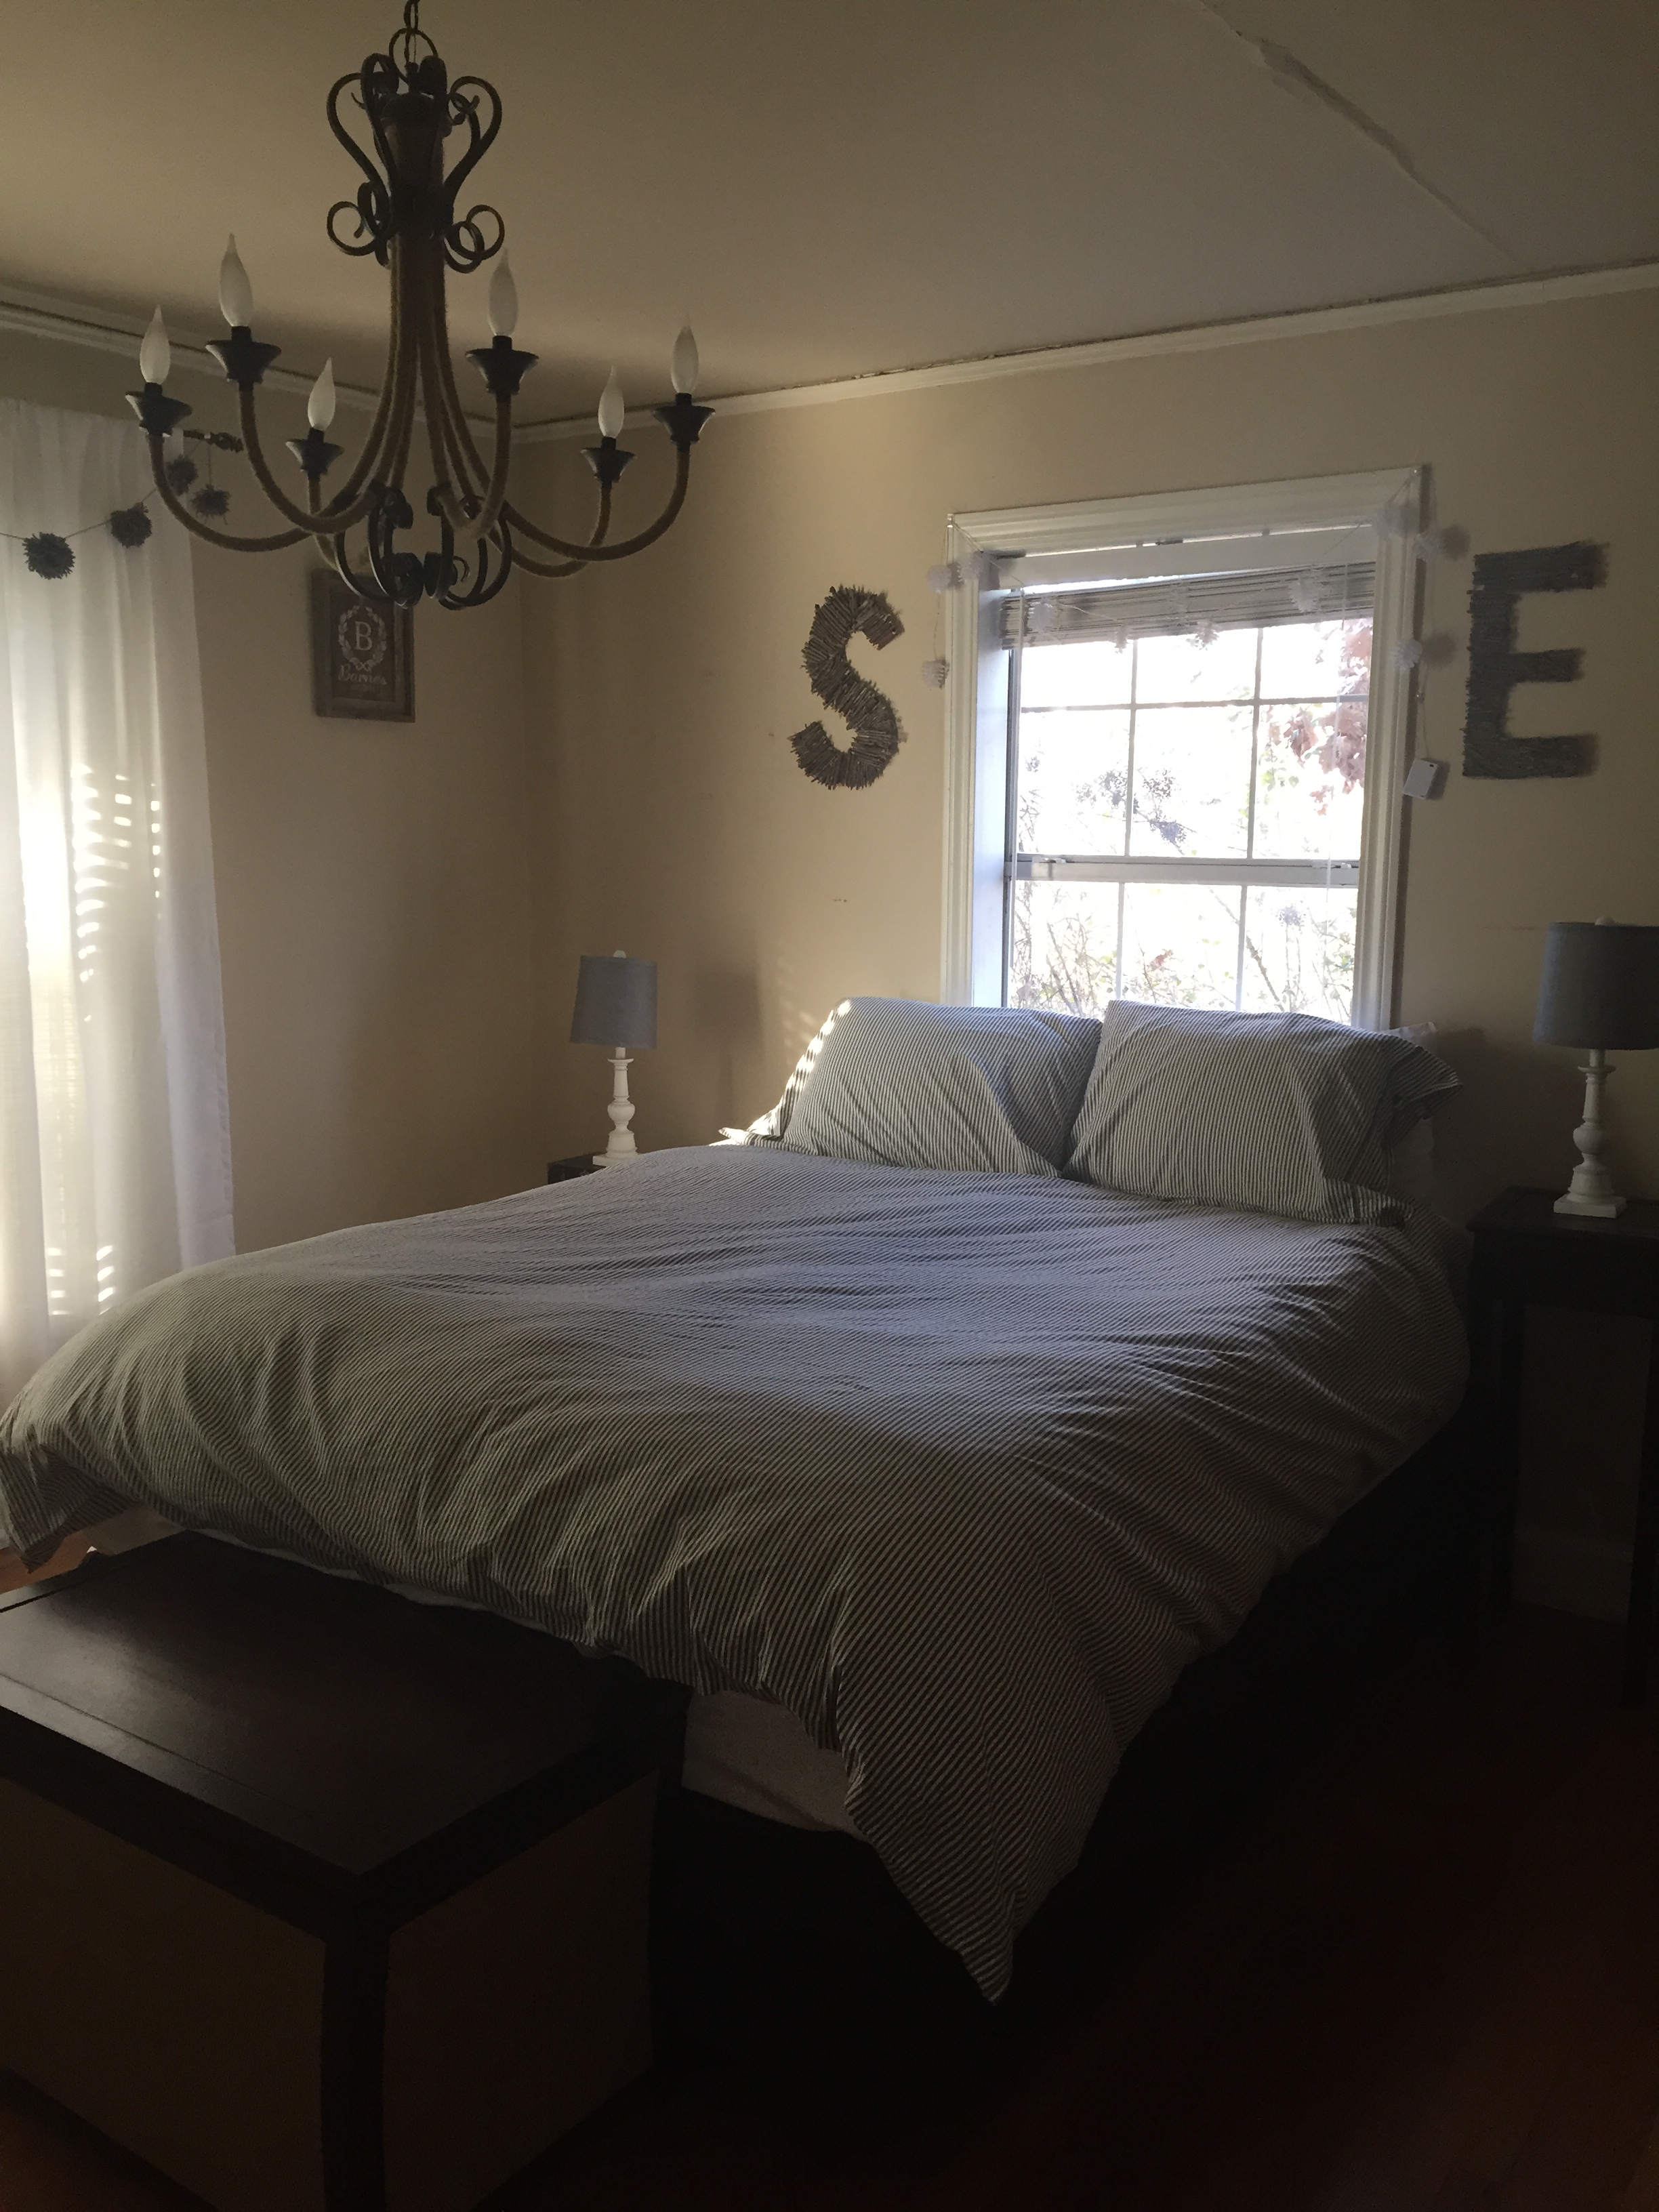
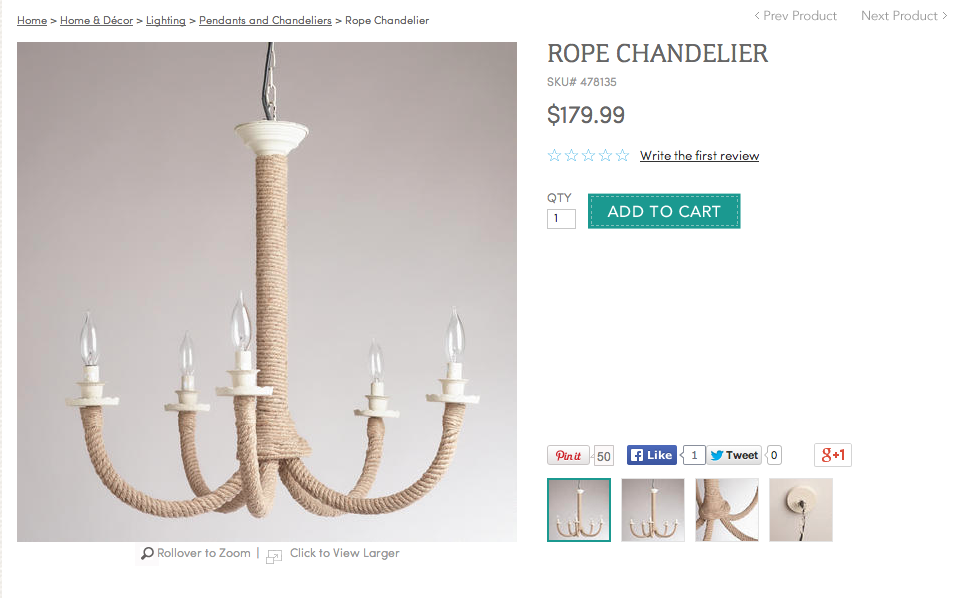
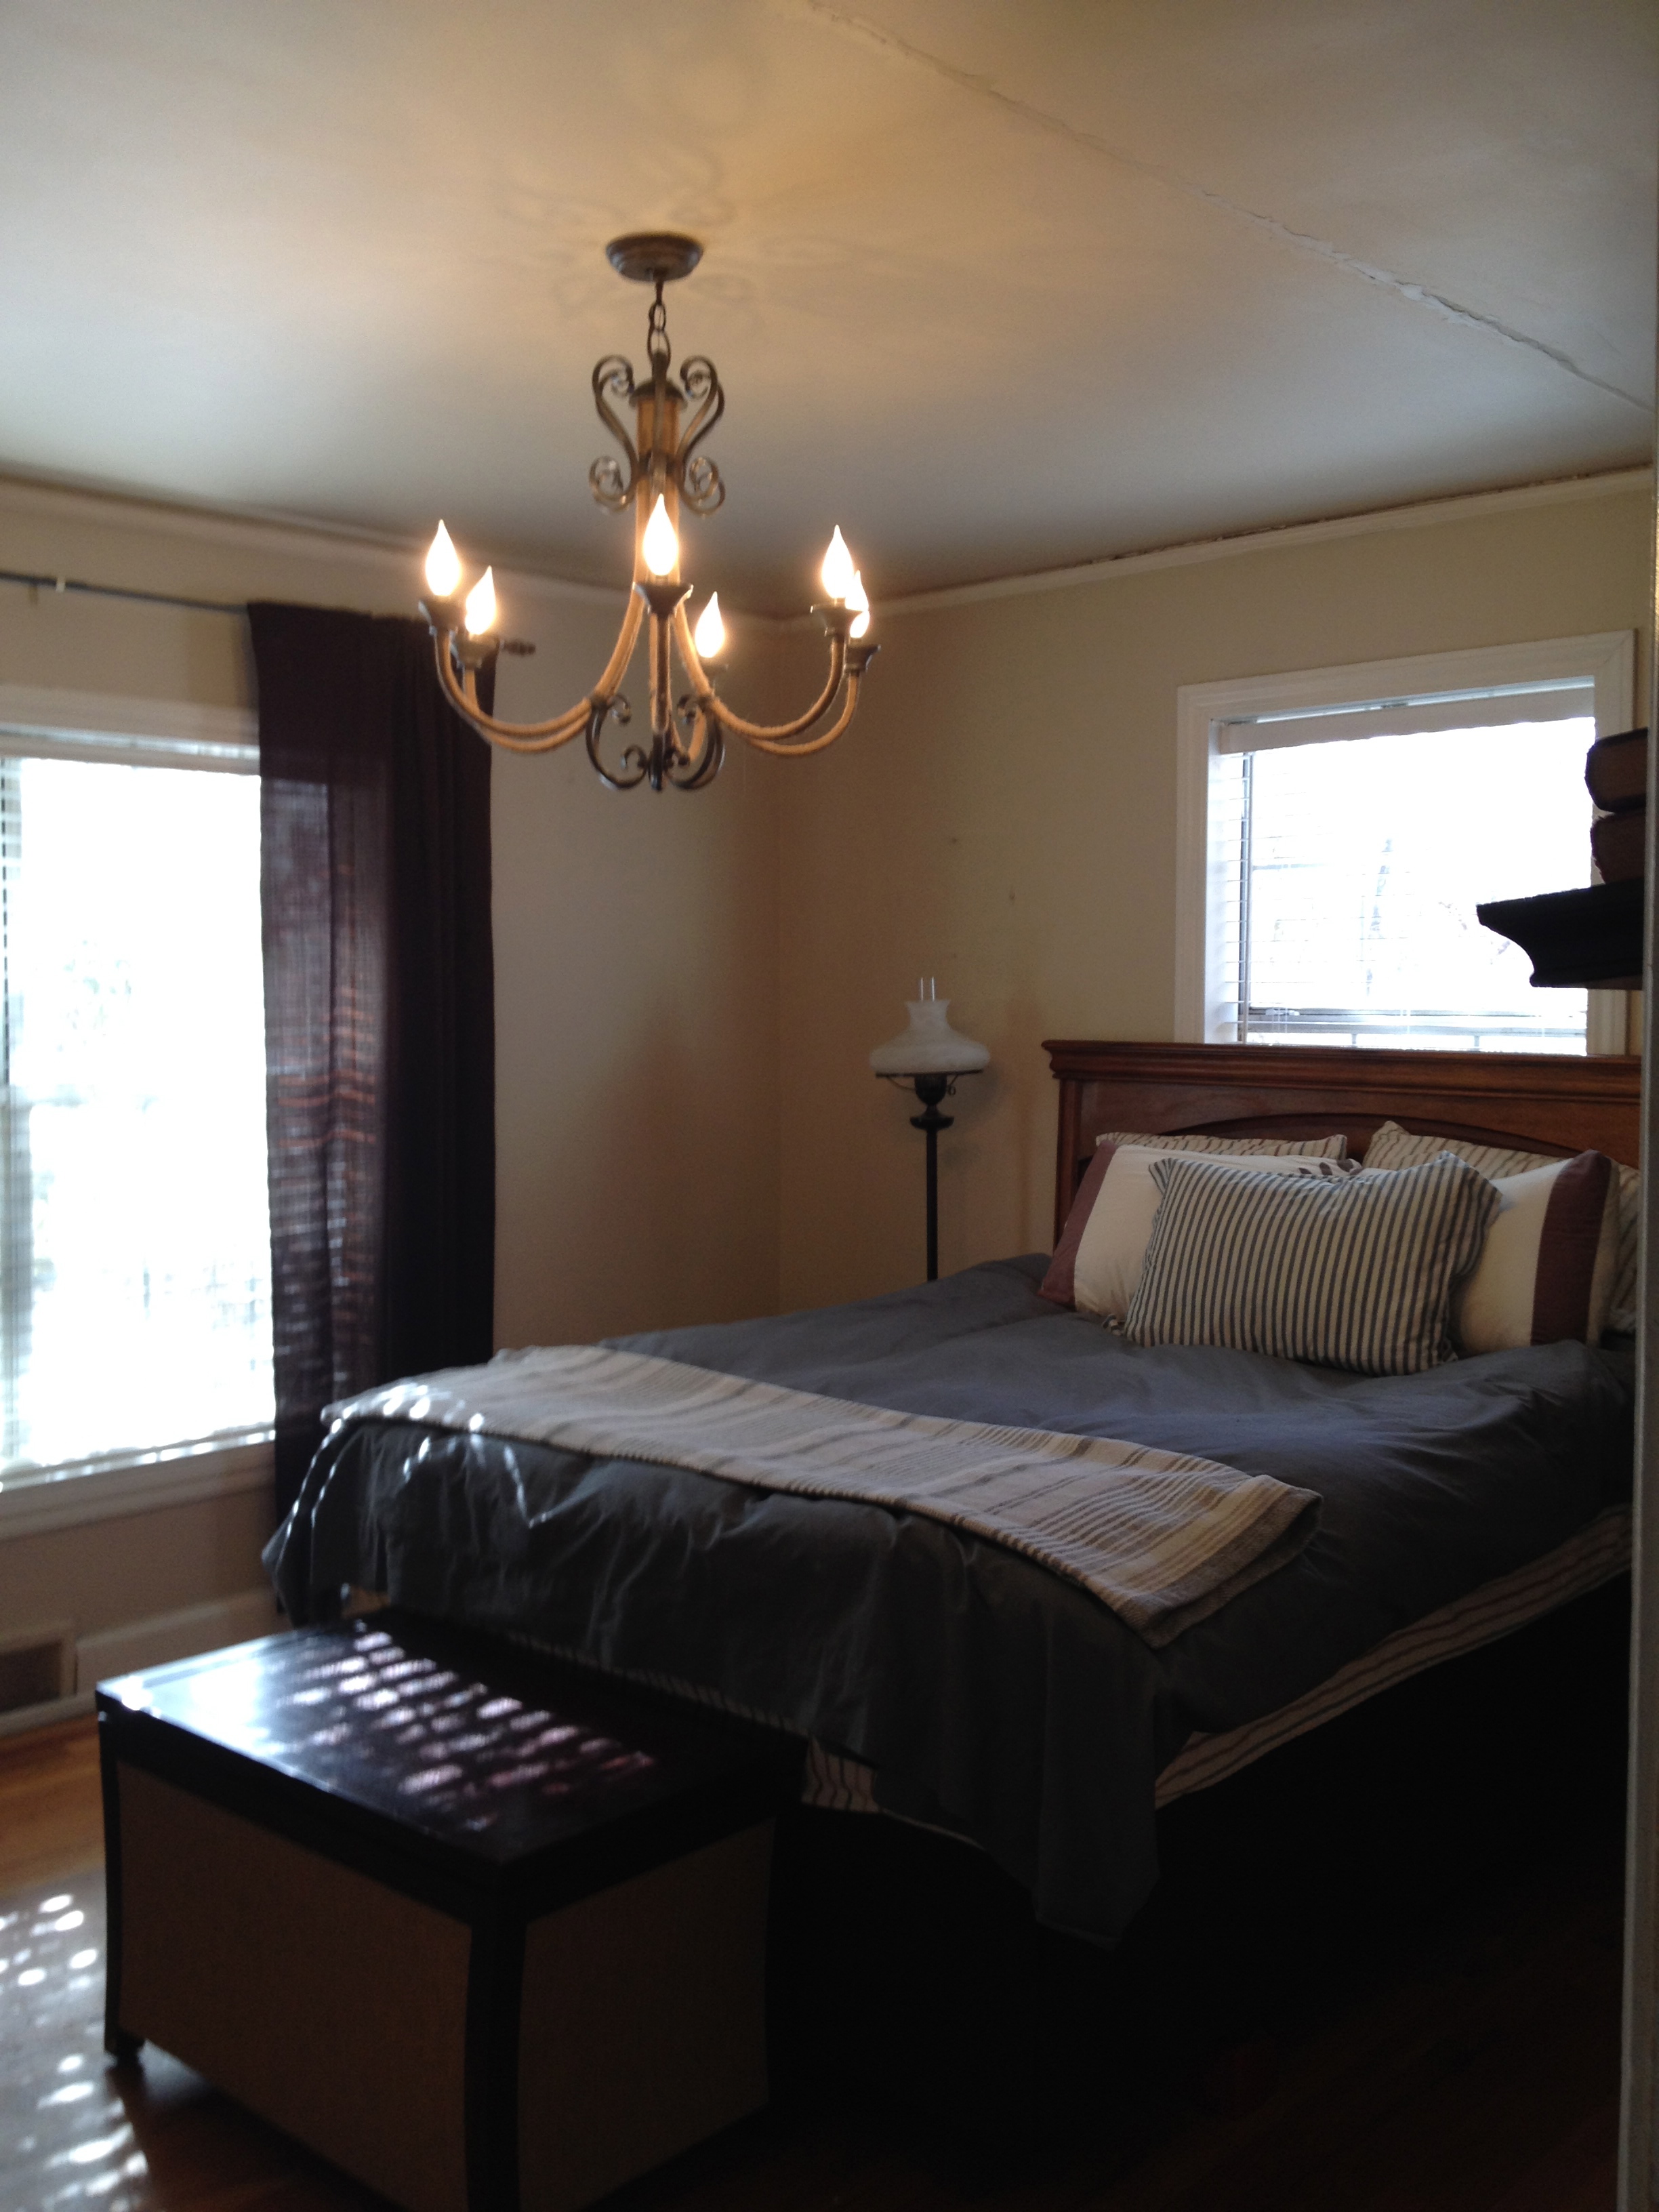
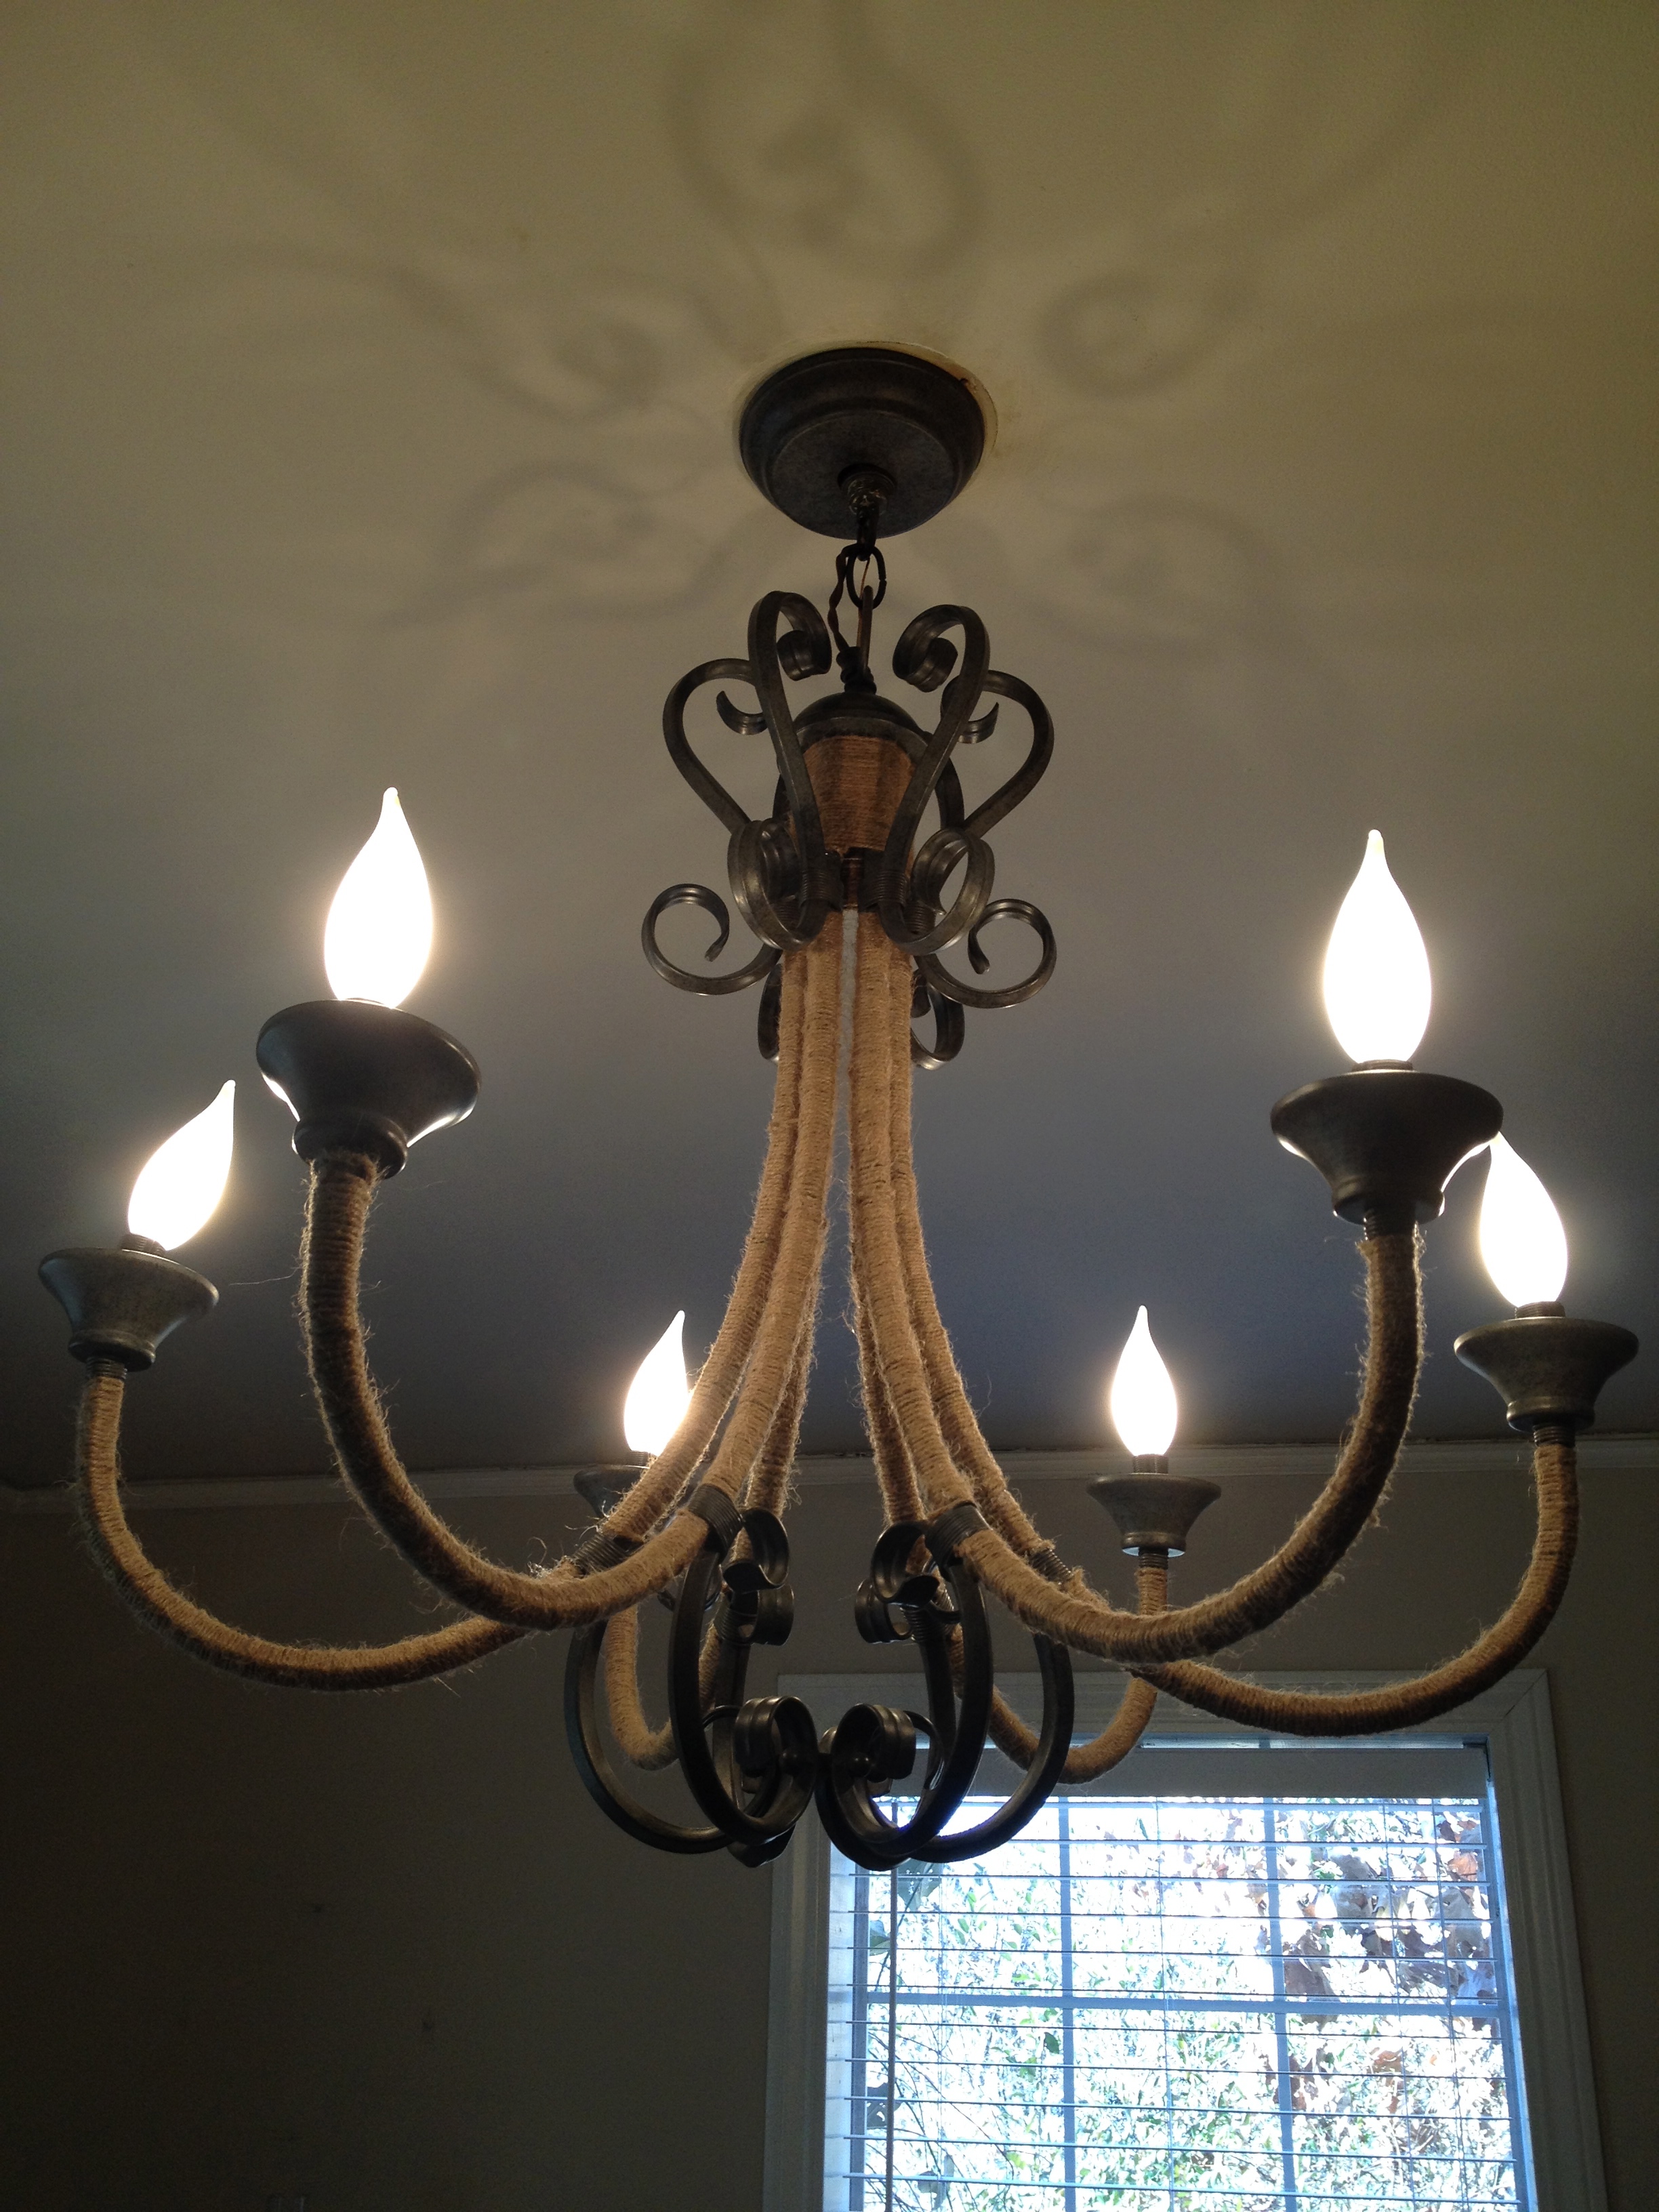
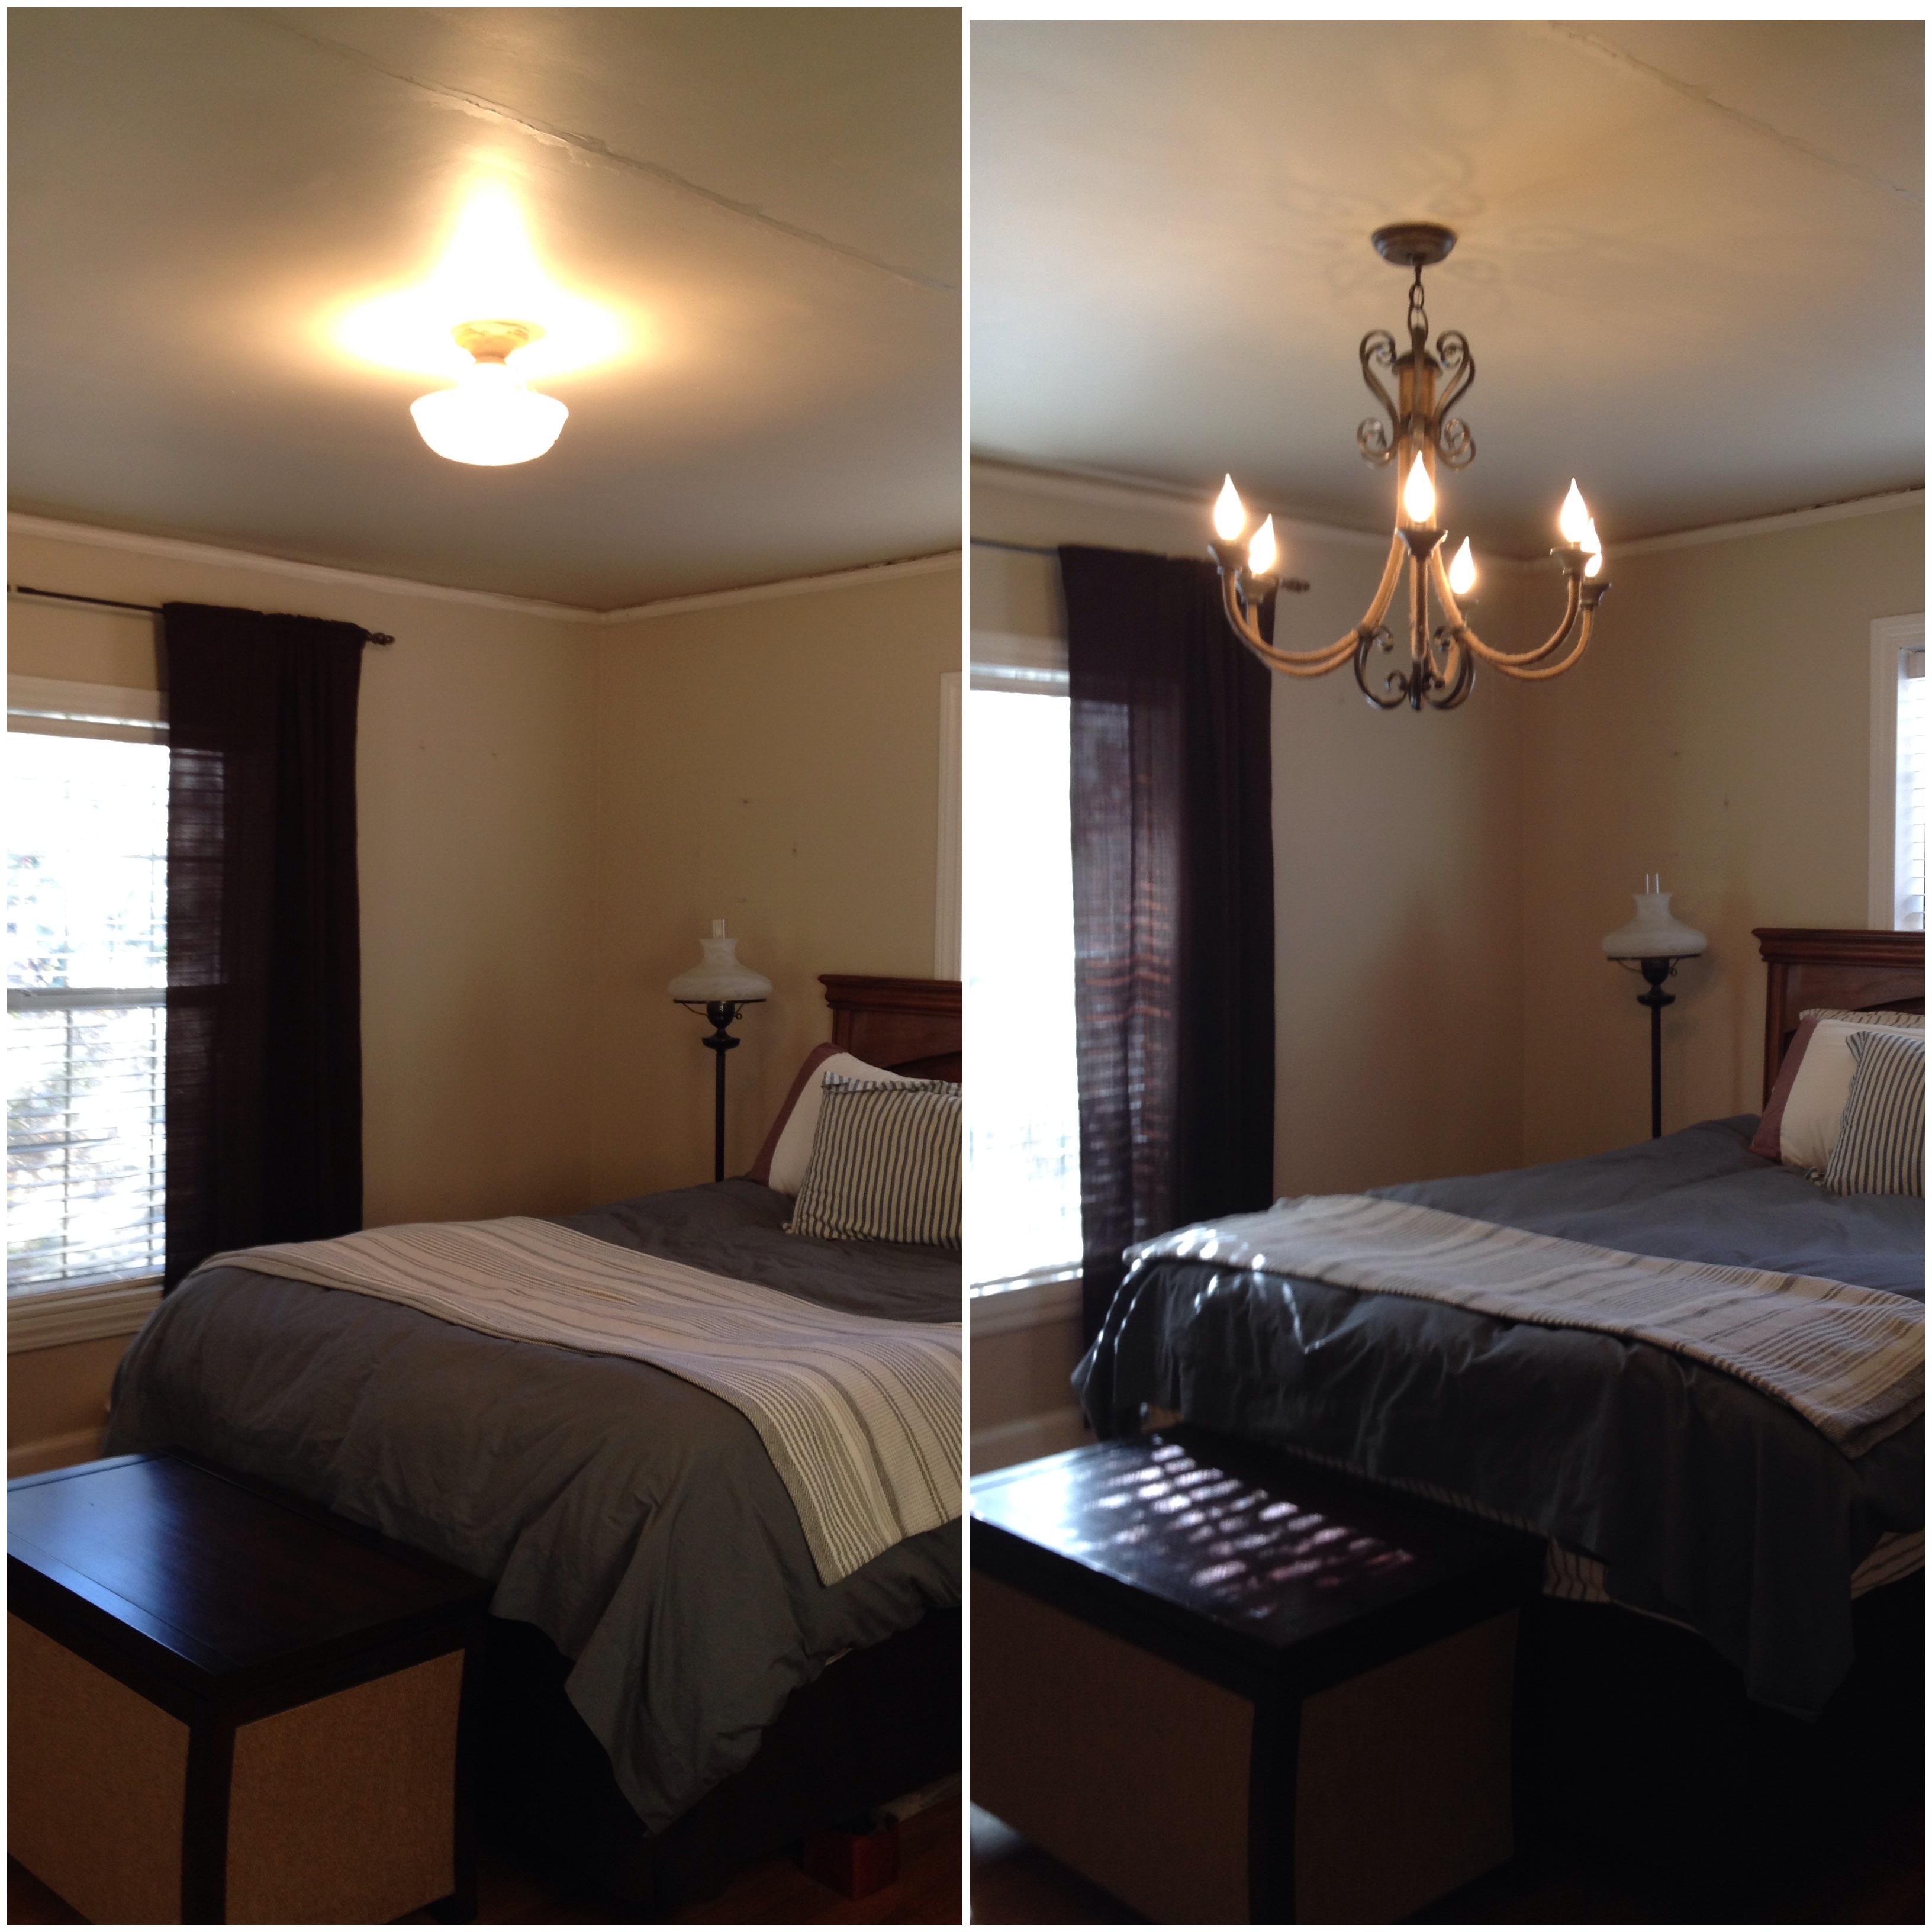
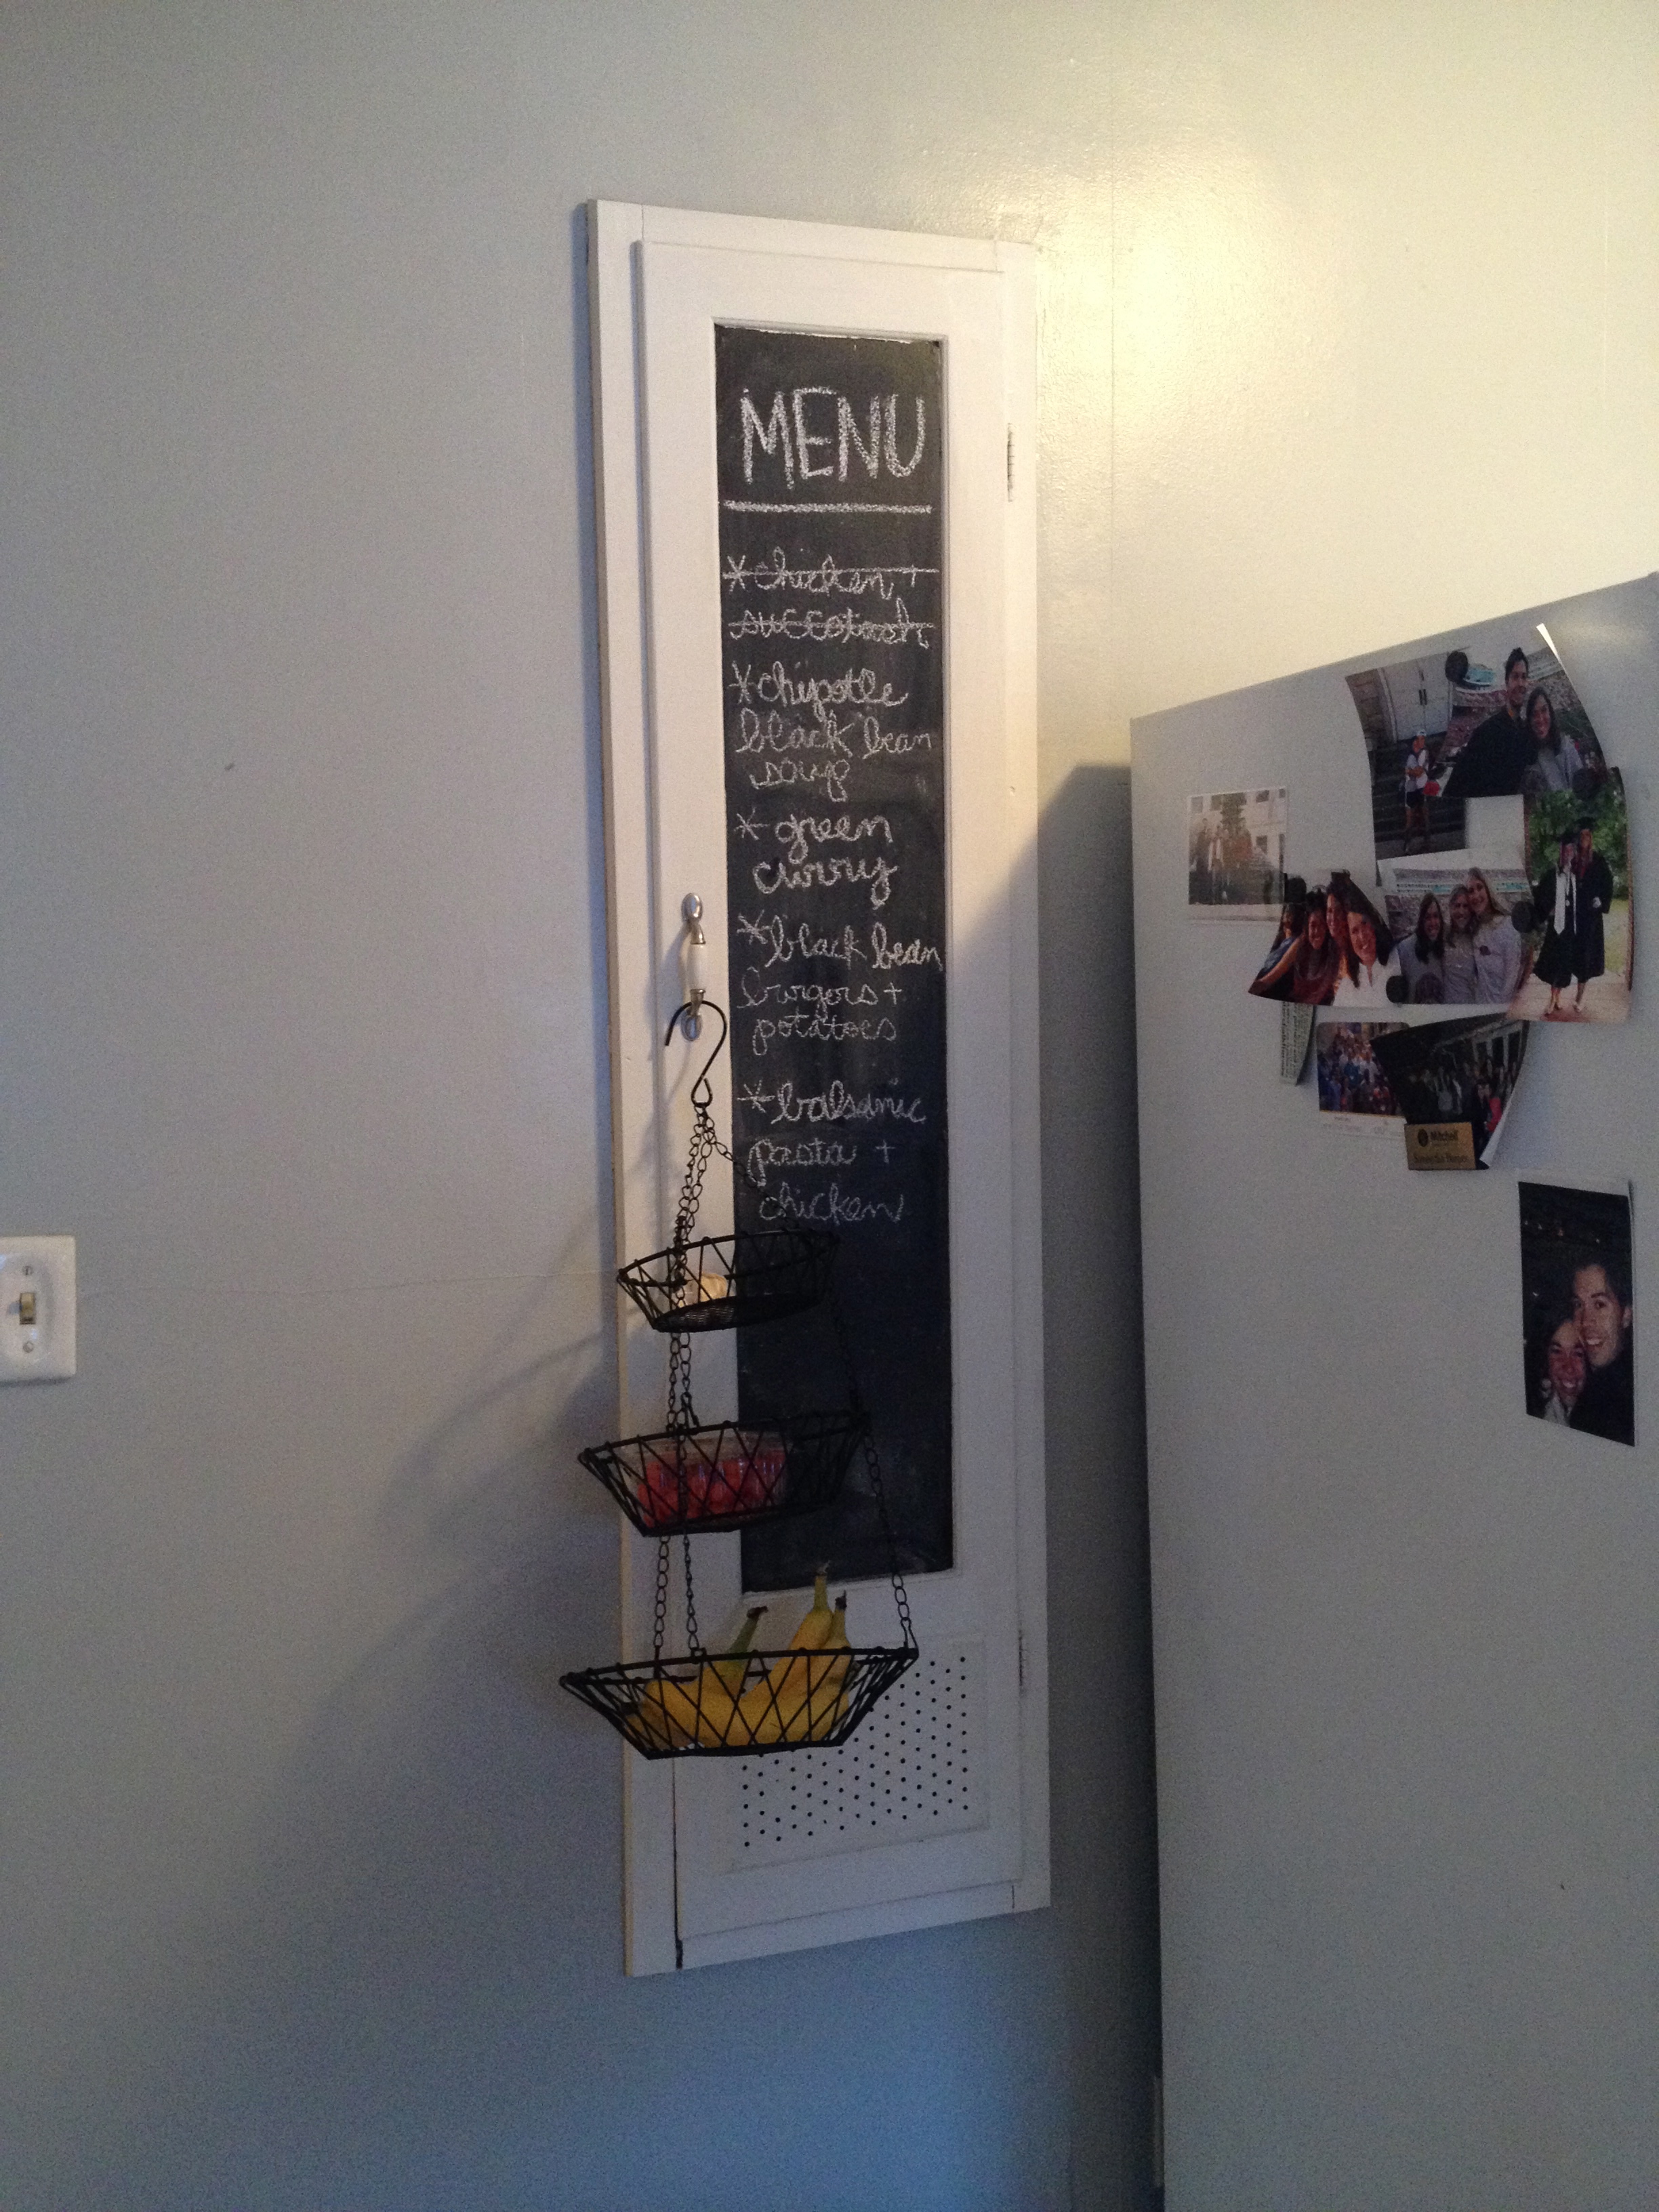
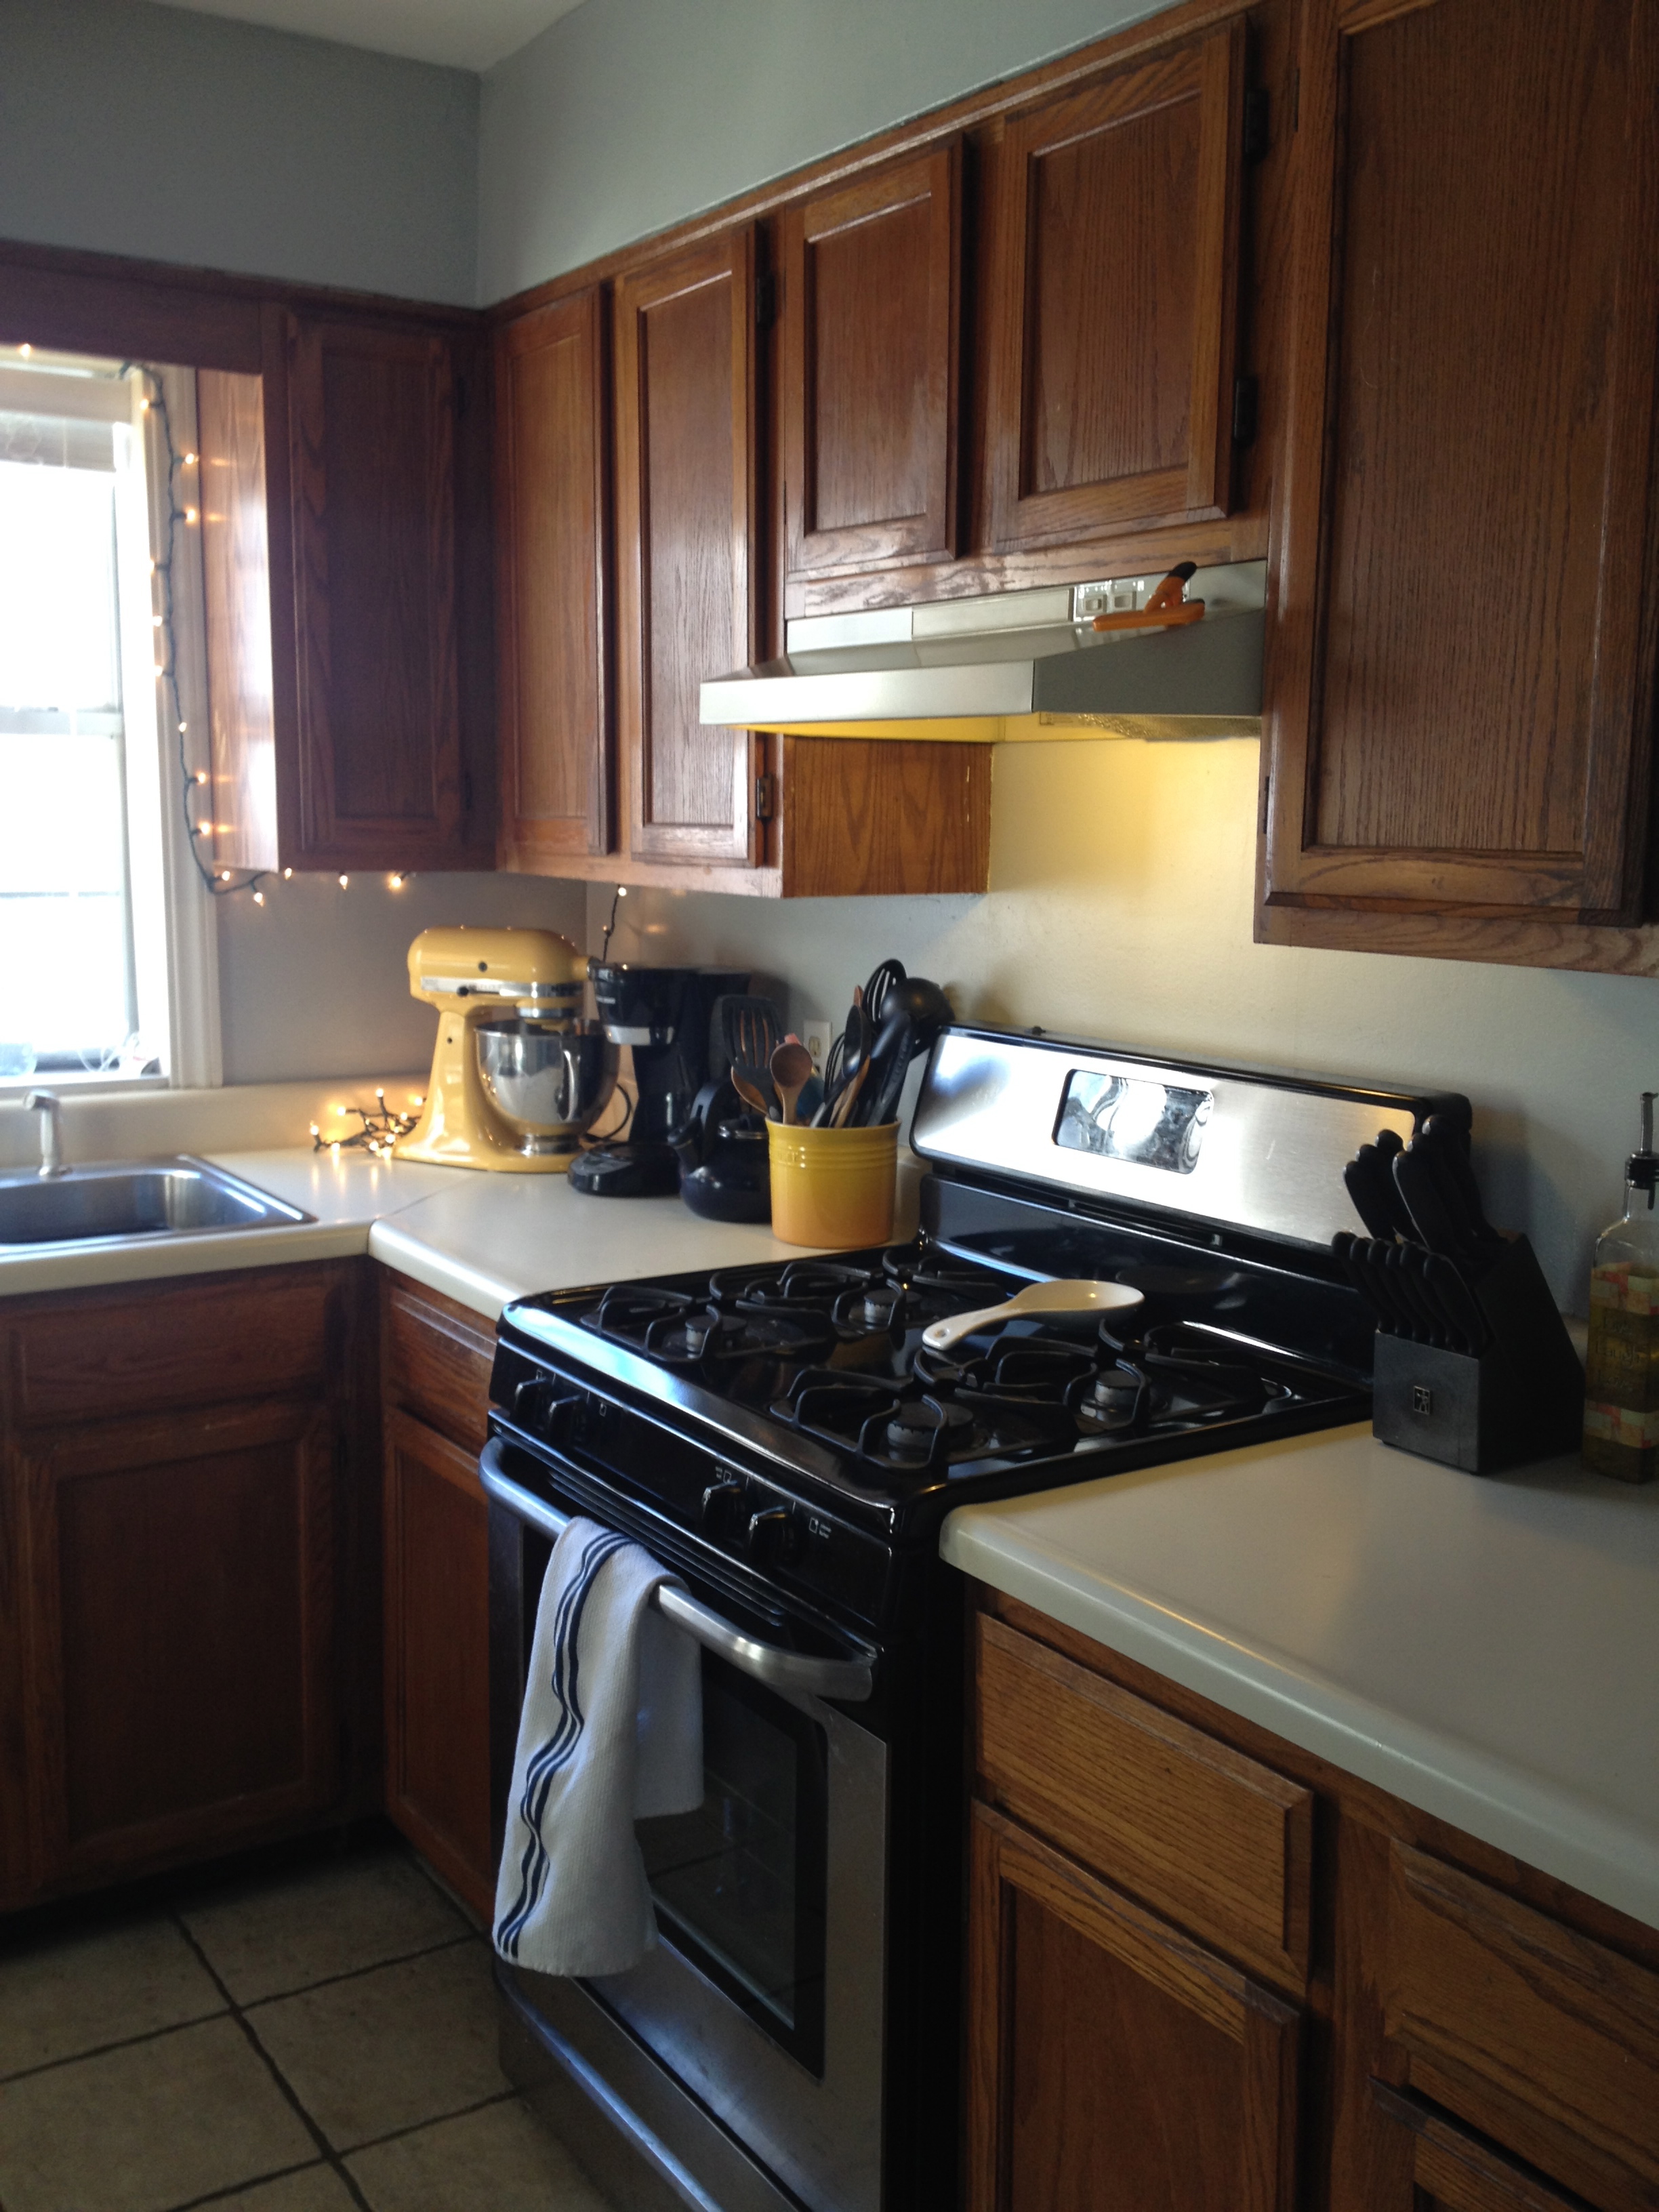
Make small changes. Find newness in the now – things like removing the headboard of your bed to let light stream freely from that window. Use Pinterest for ideas to make what you have work, not to look for new things to buy or plan or long for. 

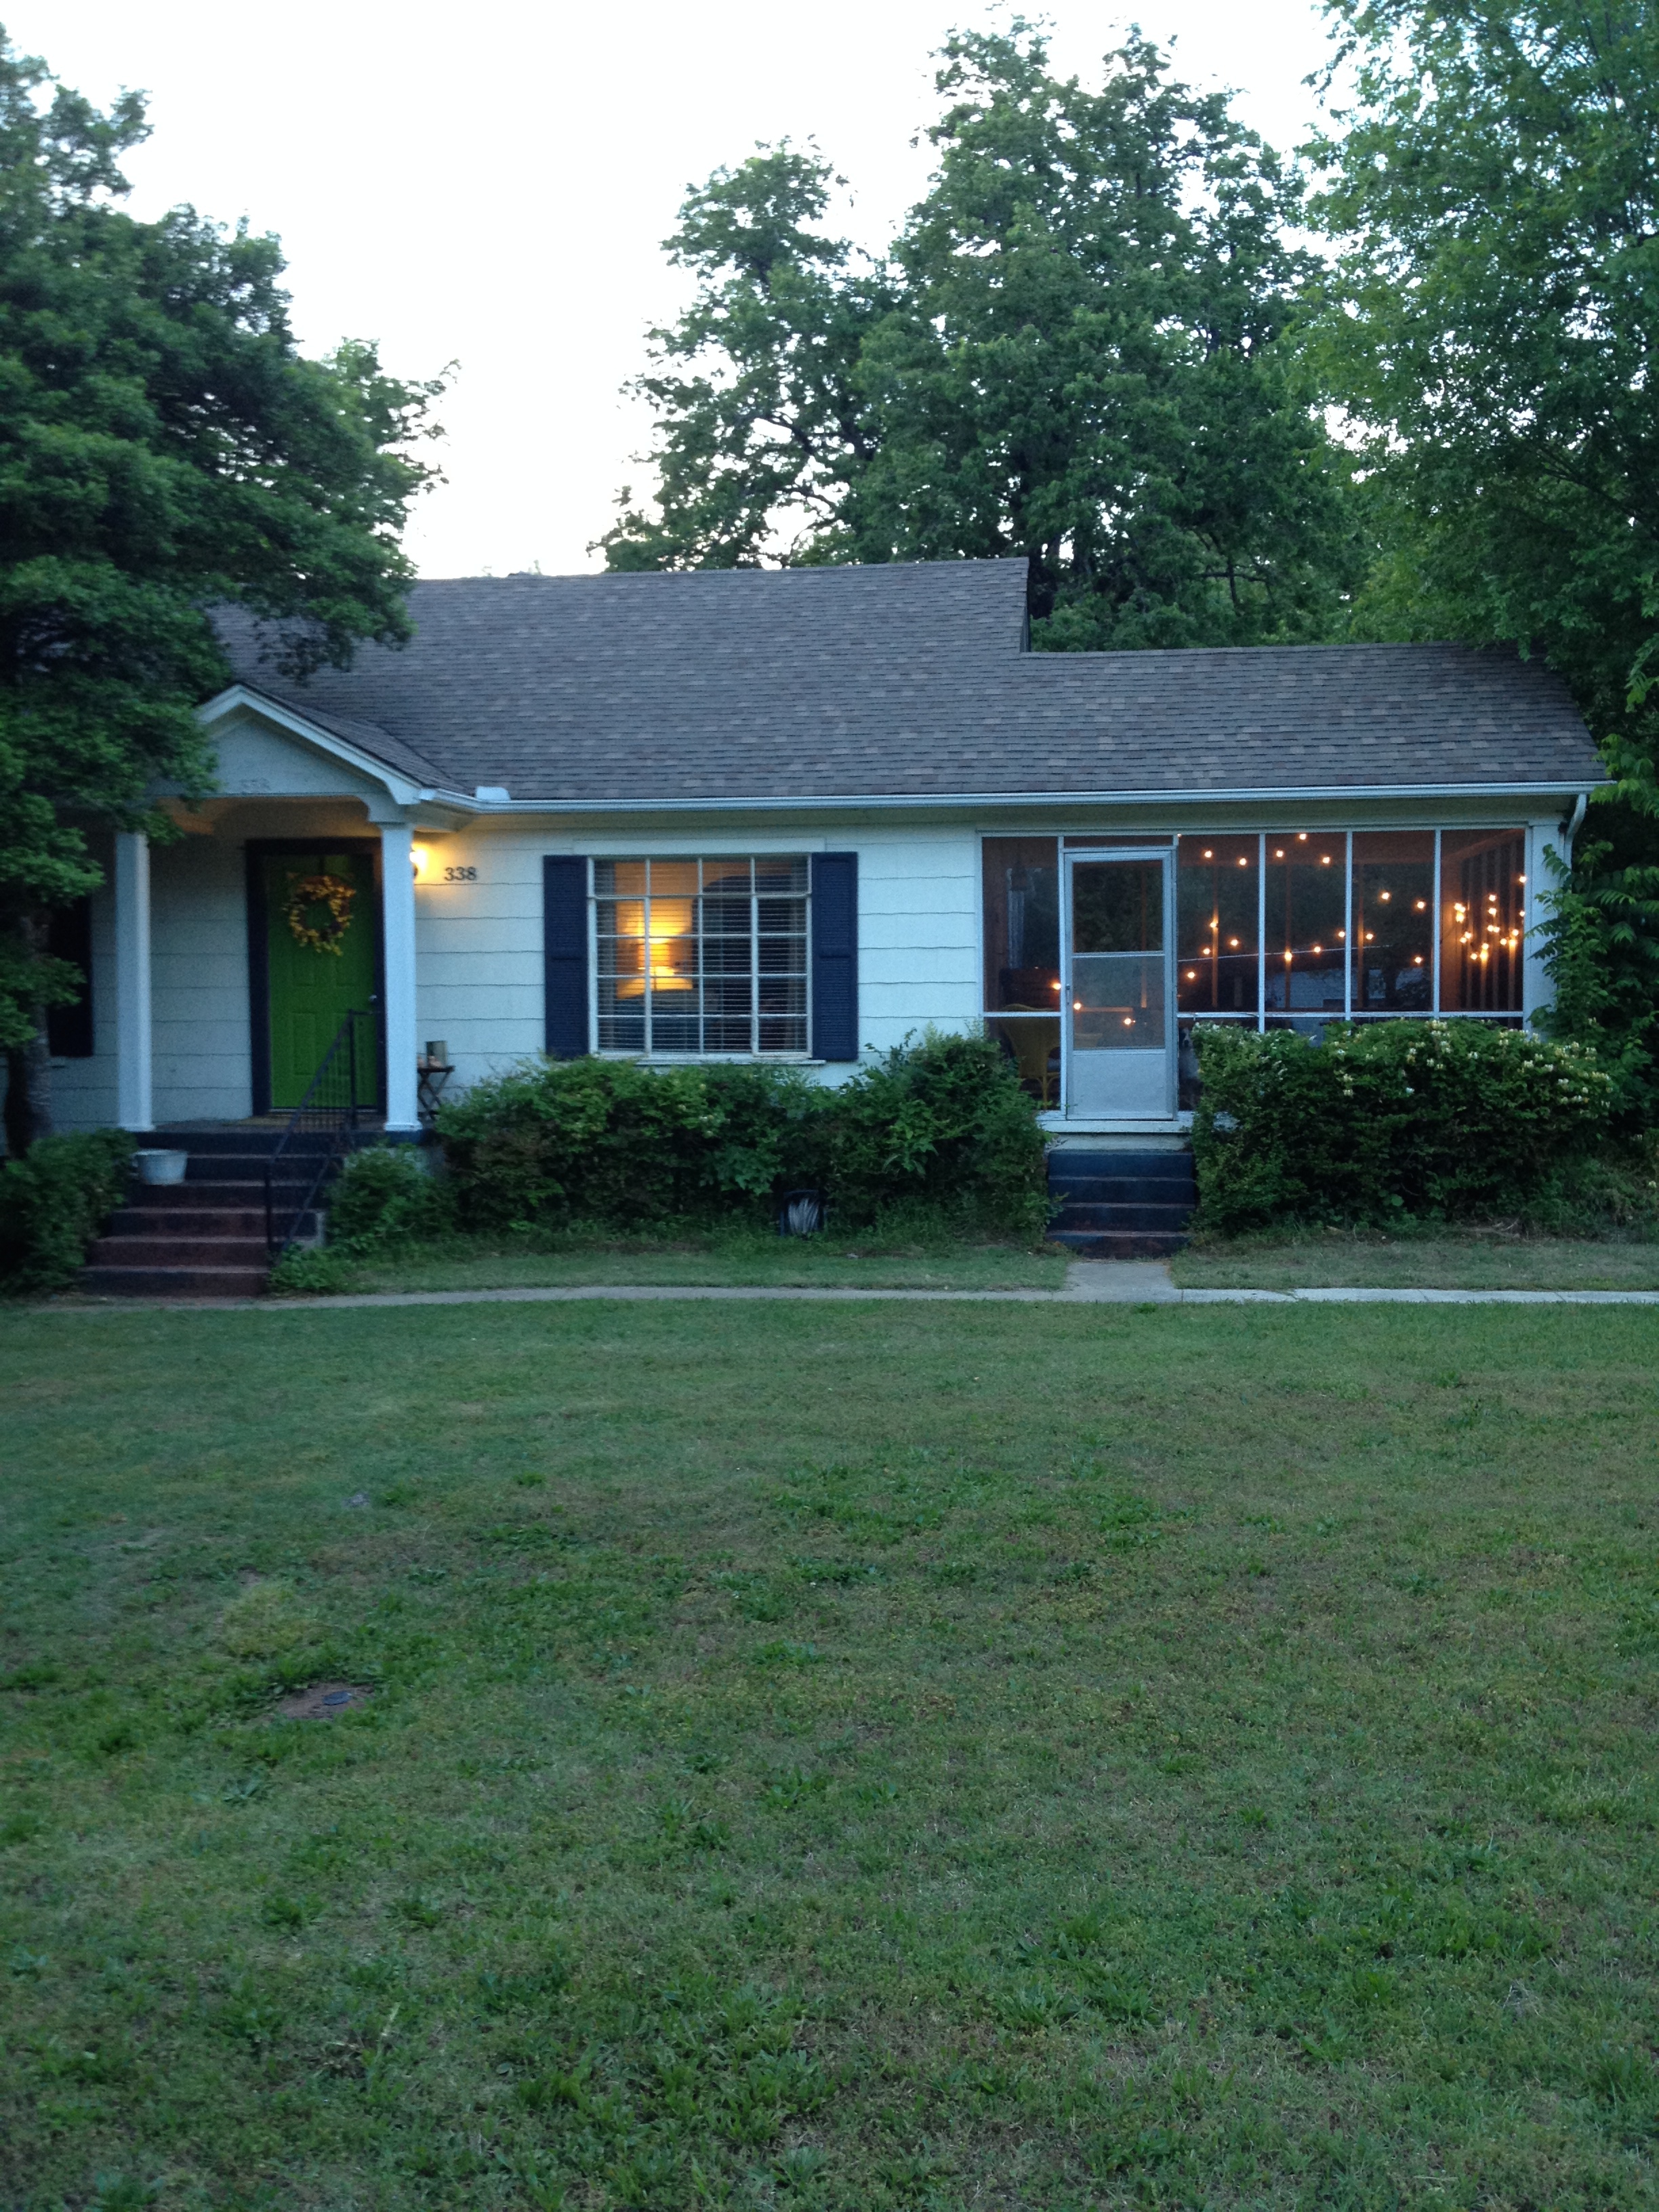
You talk about being content to rent – are you content to live? to be? to wait? We’ve been over this: life is not a waiting room. Adventure is right here. Stop talking so much about the future. Talk more about right now. Wherever you are.

Hold fast.
Hold still.
Hold now.

Because, eventually, things will change. You won’t get these moments back, but will have new moments given to you to savor. Once you get there, be all there. Before you get there, be all here. 

Fondly yet sternly,
Yourself.

new light from a once-blocked window
Advertisement

catching up

the past few months have been busy with getting adjusted to working on campus for cru, then school letting out for the summer and working from home again. rest mixed with house projects and runs with the dog has been our focus after a hectic  and emotional 10 months of support raising. i have had a fear of trying to start blogging again because there is so much to catch up on,  so instead I am going to document it in pictures so I can move the roadblock away and start writing again.


my sweet freshmen babies became seniors and graduated college
eric built this incredible porch swing
eric built this incredible porch swing #contenttorent
we gave our home a facelift with painted shutters (courtesy of a friend's hard work) and painted front door. #contenttorent
we gave our home a facelift with painted shutters (courtesy of a friend’s hard work) and painted front door. #contenttorent

IMG_2879

we rode bikes on memorial day
ridley turned three - and celebrated being our dog for a whole year
ridley turned three – and celebrated being our dog for a whole year
eric planned a movie night on our porch to surprise me on evening

IMG_2907


okay. I feel better about my absence and will hopefully be actually writing soon.

project: diy rope chandelier {upcycled}

As I walked through our house for Project: Content-to-Rent, one of the things that stood out to both Eric and I was the light fixture situation. The house has some potentially original light fixtures installed, but I am pretty sure they haven’t been dusted in a decade, and they aren’t necessarily visually appealing.

not a great "before" picture - it just looks boring here, when we took it down, it was filthy, and cleaning it would not have improved the style or the pattern etched in glass
not a great “before” picture – it just looks boring here, but when we took it down, it was filthy, and cleaning it would not have improved the style or the pattern etched in glass

Some of our friends have this incredible light fixture in their bedroom, and it is a great statement piece that adds personality to the whole room (plus it looks really cool reflected on the walls). When I saw how much it added to their room, I thought it might be a simple way to spice up our master bedroom, too.

I was looking through the World Market website, and this fixture caught my eye:

Screen Shot 2014-01-17 at 10.50.02 PM

My first thought was, “I could do that for less than $180!” So I began the hunt for a chandelier.

After searching several thrift stores, I turned to Craig’s list, and while I couldn’t find the traditional chandelier I was originally looking for, I was able to snag this piece for $25 bucks:

IMG_2267

Unfortunately, the person who previously uninstalled this fixture thought it was the most sensible thing to do to simply snip all of the electrical wires below the ceiling, hence leaving no possibility for the existing wires to be connected to the solid wire in the ceiling. Thanks to the Home Depot forums, I was guided through the process of removing the existing wiring and replacing it with new wiring (supplies costed around $15).

The process of wrapping the fixture in twine wasn’t too difficult, though it was tedious and time-consuming. I decided not to wrap all of the scrolls – partly because I liked the mix of the twine and the metal, and partly because it was too intimidating to think about maneuvering.

I didn’t have to spend any money on the twine because I have a whole roll of it from crafts for my wedding… over two years ago! I’m not kidding when I say I use this ball of twine all the time, for crafts and gift wrapping and decorations. It’s like the widow’s flour and oil in the Old Testament – it never runs out! Though I used a pretty significant chunk of it for this project.

The worst part, we discovered, was actually hanging the fixture. Because this is an older house, all of the wiring is older, and it’s not as simple to just match up the correctly-colored wires. My grandpa was an electrician, though, so I was able to ask my dad lots of questions to make sure I wouldn’t mess anything up.

After the wiring was figured out, though, we discovered that the chandelier has a fairly inconvenient design to allow screwing it into the ceiling. It took multiple tries (and several moments of wanting to cuss) to get that thing secured.

And thankfully, we love how it turned out! It really transforms the feel of our bedroom:

(that floor lamp in the background is one of the next things to go!)
IMG_2320
we aren’t sure yet if we are going to hunt for some sort of shades or leave the bare bulbs exposed

I had a lot of fun playing with the wiring and asking the Home Depot guys questions. I really like knowing how things like that work, and it makes me less afraid to try other similar projects, now that I have a better understanding of what is involved.

IMG_2324

And this was my selected project-of-the-month for Apartment Therapy’s January Cure, so I can check that off my list, as well! I also completed my weekend JC chores of vacuuming/mopping the floors and under the furniture, washing our bedding, and cleaning out my closet in the process, so it all worked together.

For less than $50, it’s not a bad statement piece to help transform our master bedroom, and it is giving me more ideas for a direction to go with the walls, which is the next focus in that room. Though getting proper nightstands and lamps is also a priority…

project: update the kitchen walls

As I mentioned in the first post for Project: Content-to-Rent, we love our little rent home. It’s a great size and has some old house charm, but it easily feels cluttery or outdated.

When Eric asked me what I would change about this house, without a doubt the first thing that came to mind was the kitchen wallpaper.

Y’all. It was gross. It just made the kitchen feel dirty. I dislike the type of tile used on the floors, and the grayish grout always looks dirty as well, but that wallpaper. And the border. Words can’t do it justice. I am not sure pictures even can, but here goes:

Image

Image
(sorry for the yellow lighting – can’t replace everything at once)

Who picks a southwestern-ish design for a border with floral wallpaper? I guess the colors kind of match, but seriously?

And we didn’t realize how yellowed the wallpaper had become until we pulled the light switch plate covers off and saw the color it should have been. Double ick.

For Christmas, we received some money from a grandparent, and we decided to put it to use for our first project.

Stripping wallpaper seemed a little daunting, especially in an old house when we had no idea what condition the walls were in. After some research, I discovered that you can use an oil-based primer to cover wallpaper if it is still in fairly good condition. This would help prevent moisture from damaging the paper underneath the paint.

So on the primer went! It took a couple of coats, and the oil-based made it a little more difficult to apply. We also encountered some problems as far as the wallpaper not having been applied correctly (in some places, there was excess wallpaper running along the ceiling or door frames), and we weren’t quite sure how to correct that, so we just made do the best we could and trying to spackle some places where the paper seemed to be peeling.

For the color, we picked a light “Driftwood Gray” (Glidden Martha Stewart), trying to find something neutral since it is a rent house, but also something that would not make the slightly off-white baseboards look dirty. The color ended up being a little more of a bluish gray than I anticipated, but it is growing on me.

We have another stage or two of this project – Eric is going to build me some shelves to help with the limited cabinet storage, and we will repaint the trim eventually – but here are some before and after shots:

Image
ridley tends to follow me around when he thinks something exciting is going on
Image
this is a little door that opens to reveal a GRODY ironing board which folds down from the wall. cool concept, i suppose, but never used.
IMG_2296
the shelves eric is planning to build will go on the the right side of the fridge in that empty space
i had spare chalkboard paint on hand from a christmas project, and i love how this turned out!
i had spare chalkboard paint on hand from a christmas project, and i love how this turned out! we might move the fruit basket eventually, but it was the only space with a hook i could find to hang it on right now. the basket is also a new addition to help relieve some on-the-counter clutter.

IMG_2295

All-in-all, we are very happy with how it turned out. I would still love to have different cabinets. And different floors. And new light fixtures. But it is just a rent house, and those things don’t seem quite so bad with the fresh coat of paint brightening up the room!

project: content-to-rent

In December, Eric and I were discussing our friends who are buying homes – and how we feel like it could be several years before we are ready to take that step, especially since student loan debt is in the picture right now. Eric posed the question, “If we owned this (rent) house we are living in, what would you change about it?” 

We really enjoy this sweet little home we moved into just over two years ago when we got married. The screened-in porch was a huge draw, and the wood floors are wonderful (especially with a long-haired dog – easy to clean). It’s a great 2BR-1BA size, with an unfinished basement the size of the entire house for tons of storage. It has old house charm (which also means cracks in the door jams for tiny breezes and single-paned windows and creaky spots in the flooring, so it is charming/chilly) and a great landlord situation.

However, I think this is a great question for me, as I can easily take this home for granted and want something newer/nicer/bigger/etc. We don’t have any plans  to move into a different or a larger home – we don’t really need anything bigger or different – so what would it look like to do some low-key investments into this home and our belongings in order to gain more contentment for where we are now? 

As part of this, I am following along with the January Cure via Apartment Therapy. This project involves daily, manageable tasks to slowly help de-clutter, clean, and organize your living space, and so far I am really enjoying it. Sitting down to create my project list (with some feedback from Eric) really helped me get a grasp of what it is I want to accomplish instead of just looking at rooms and getting frustrated.

In a rental situation, it can be easy to feel like you don’t have any control over your home, and in some situations this is more true than in others, but I found that most of my changes don’t involve the actual wall colors or flooring or other things that are a lot of work to change.

I am calling this “Project: Content-To-Rent.” My goal is not only to gain contentment with this home the Lord has provided, but also to find ways to take care of our home and make it a place of peace, not disorder. The Message version phrases Proverbs 31:19 this way: “She’s skilled in the crafts of home and hearth, diligent in homemaking.”

Lastly, a goal with this project is for Eric and I to get to share in doing fun things together and investing in our home. Especially in the winter, I feel like this is a strategic opportunity to grow our relationship. The “friendship” aspect of our marriage thrives in warm weather when we can go on bike rides and runs and walks and hikes. We can spend weekends camping and doing yard work. But in the winter, it’s easy to just crash on the couch under a blanket and watch a lot of movies. We need some of that, but to grow our relationship, I feel like house projects are a fun way to interact with each other and learn new things together.

The first task of Project: Content to Rent was recently completed, and I can’t wait to share it here soon!